If you’re keen to start your own seedlings for the season, there are a few tricks of the trade that will set you up for success.
Keeping your seedlings healthy until they are safe to transplant is fraught with danger. There is no shame in buying seedlings from your favourite garden centre in April or May.
But if you’re up for the challenge, here’s how you do it.
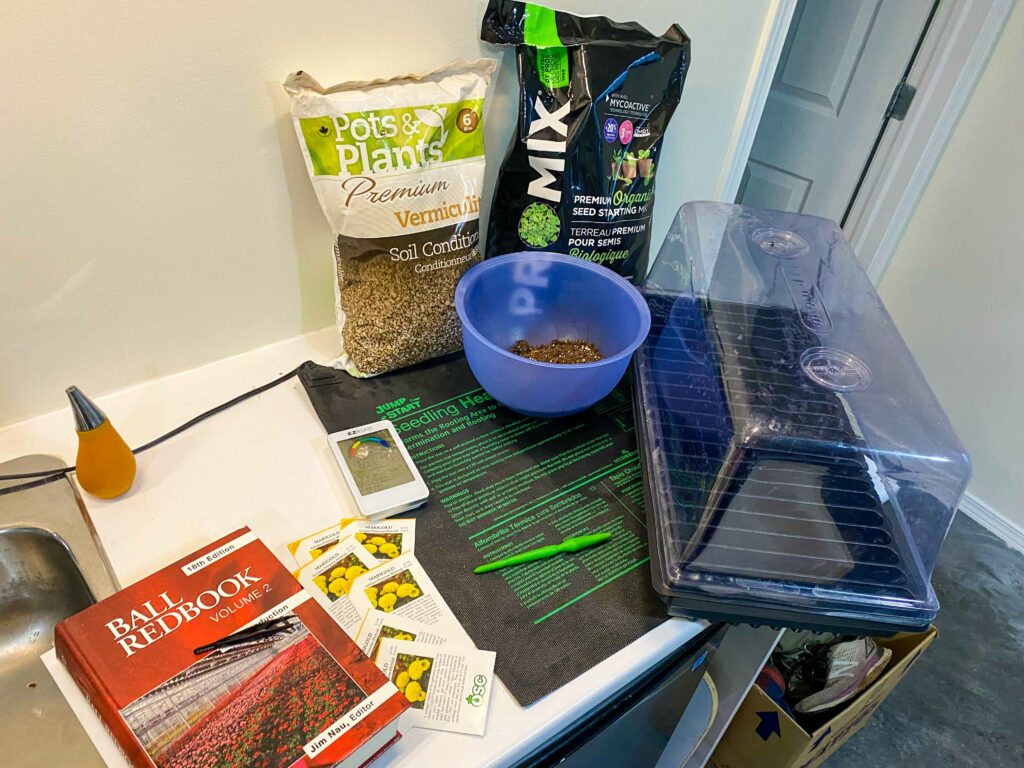
You’ll Need:
- Seeds you want to plant (don’t plant seeds that are “direct sow”)
- Seed starting mix
- Bowl for moistening the growing medium/mix
- 20-row, 1020 seedling tray or tray of small pots
- Vented dome
- Remote thermometer and hydrometer
- Paper towel
- Distilled water
- Bleach & soap (for sanitizing your tweezers and dibbler)
- Heating pad
- Optional: electric timer, tweezers, dibbler, vermiculite soil conditioner
- Smarty Plants optional: Ball RedBook reference book
BEFORE YOU START: Have you checked to see what the last frost date is in your area? You’re better off starting your seeds a little late than way too early.
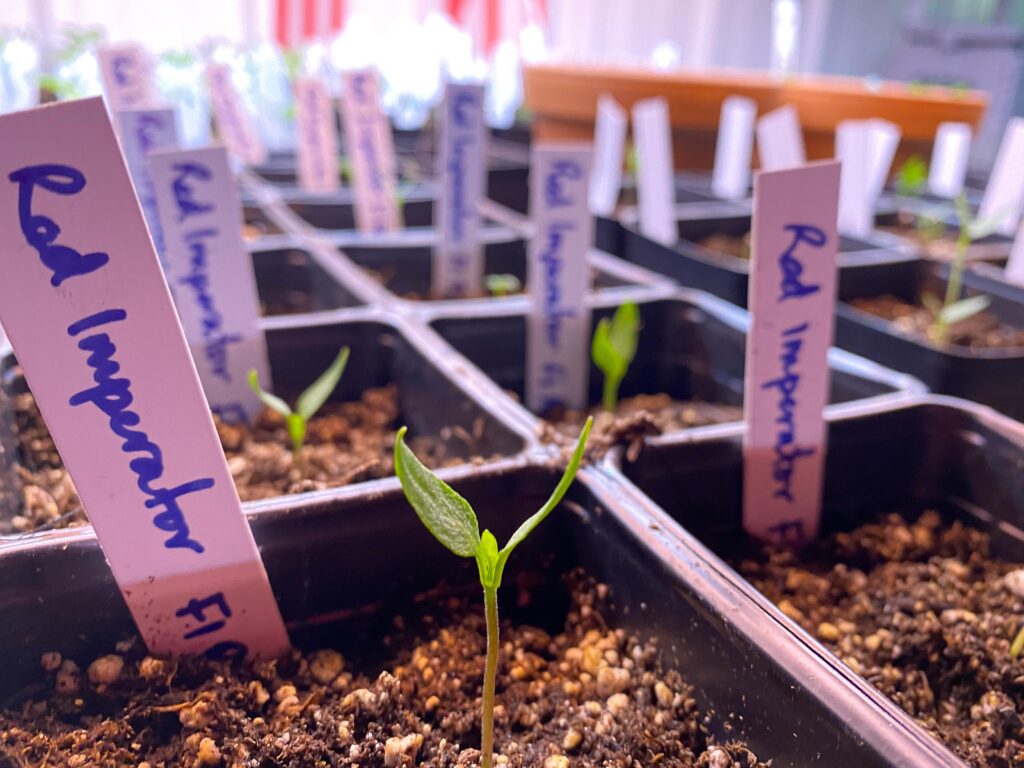
For the purposes of this tutorial, I am planting marigolds (Tagetes ‘Antigua Primrose’).
Step 1: Plan the Work
Do some quick research to find out if your seed:
- Likes to be covered with soil or sit on top
- If it grows best with a layer of vermiculite added
- Needs light to germinate (most don’t but some, like lettuce or calendula, do)
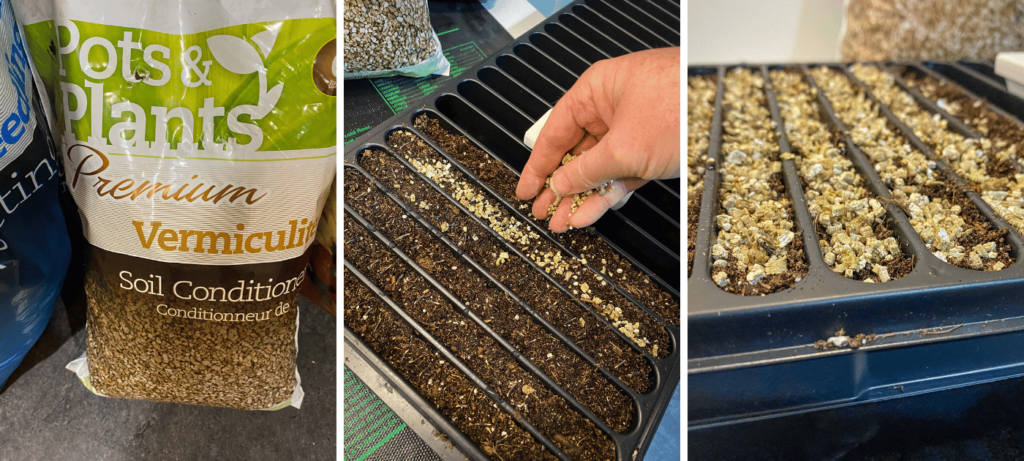
My Smarty Plants resource is Ball Redbook (18th Edition), and it confirms that Marigold seeds should be covered lightly with coarse vermiculite after sowing, and then kept in a warm place (22-27°C). Seedlings are expected to emerge in two to five days.
TIP: Not all plants germinate better with vermiculite and there is a global shortage, so use it sparingly.
Step 2: Prep Your Materials
Pour your seed starting mix into a bowl or basin and moisten it with water (tap water is fine).
You want it moist enough that it holds its shape when you squeeze it into a ball, but not so moist that water comes out when you squeeze it.
Ensure that your tools are clean. Use a rubbing alcohol wipe to clean your tweezers if you’re using them, or wash everything in a 10% bleach solution.
Step 3: Get Planting
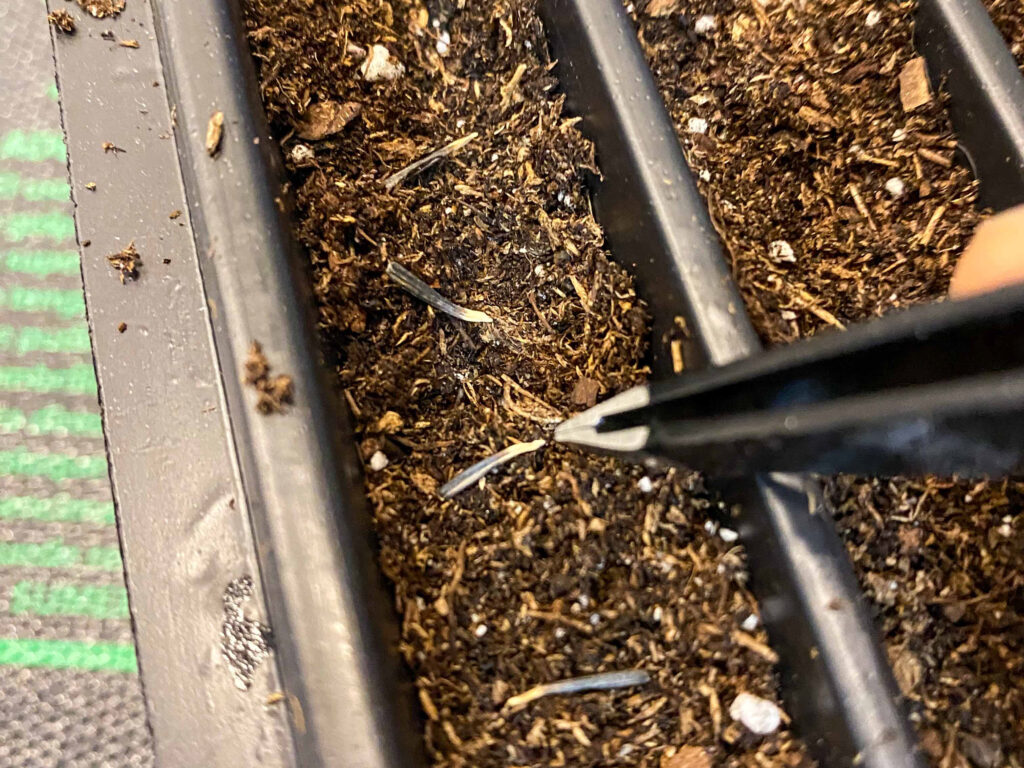
Fill your seedling trays or pots with the moistened seed starting mix. Yes, it matters. This is not the place to cut corners. Place your seeds on the soil.
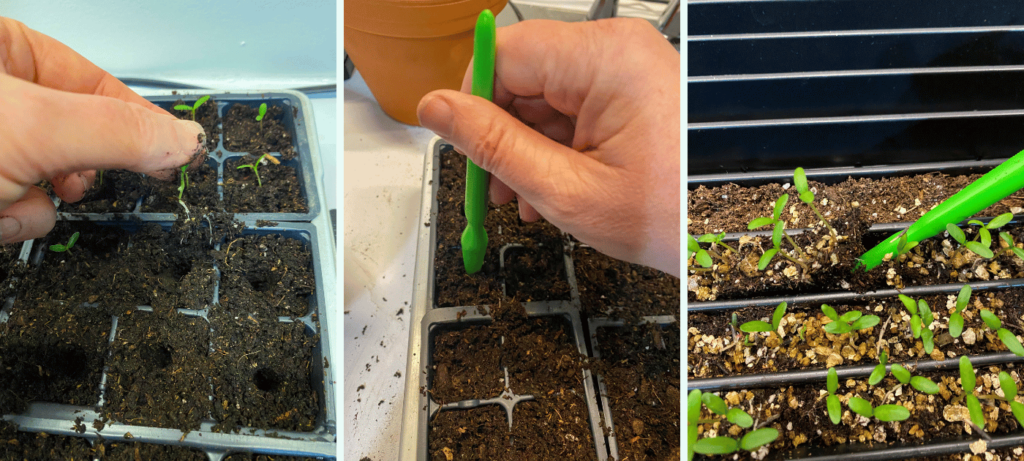
Plant the seeds individually with tweezers and either lay on top of the soil as I’ve done with the marigolds or make a small hole with your dibbler and drop the seed to the depth noted on the seed packet. When in doubt, plant seeds three times deeper than the diameter of the seed.
Sprinkle a thin layer of coarse vermiculite over the seeds and damp soil. Then cover with a dome or plastic bag. If you are using the remote sensor, pop it in with the seeds, under the dome.
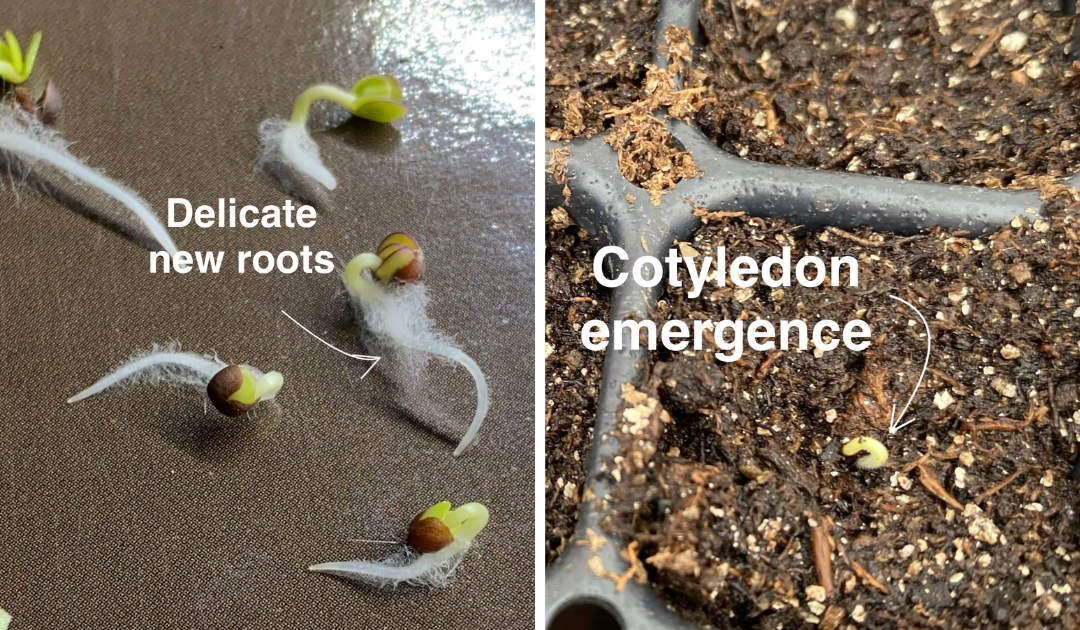
HOME GROWING HACK: Commercial growers will plant hundreds or thousands of seeds in a single 1020 tray. As a home grower, you probably want fewer seedlings to deal with so use fewer seeds or bigger seeding pots. To reduce the number of times you have to transplant, you can use a 4 inch pot, fill it with regular (moistened) potting soil and then press your thumb or large end of a dibbler in to the soil to make a large hole that you will fill with moistened seed starting mix. This means your delicate roots will get the contact they need for early growth but can grow on in regular soil without the need to transplant.
Step 4: Let It Grow
Put your seedling tray or pots inside a basket or second tray to make sure the bottom of your seeded trays aren’t in direct contact with your heat source, and also to catch any water that may flow through as you water over the coming days. Heat mats like the one I use from Jump Start will raise the soil temperature by five to ten degrees over ambient air temperature.
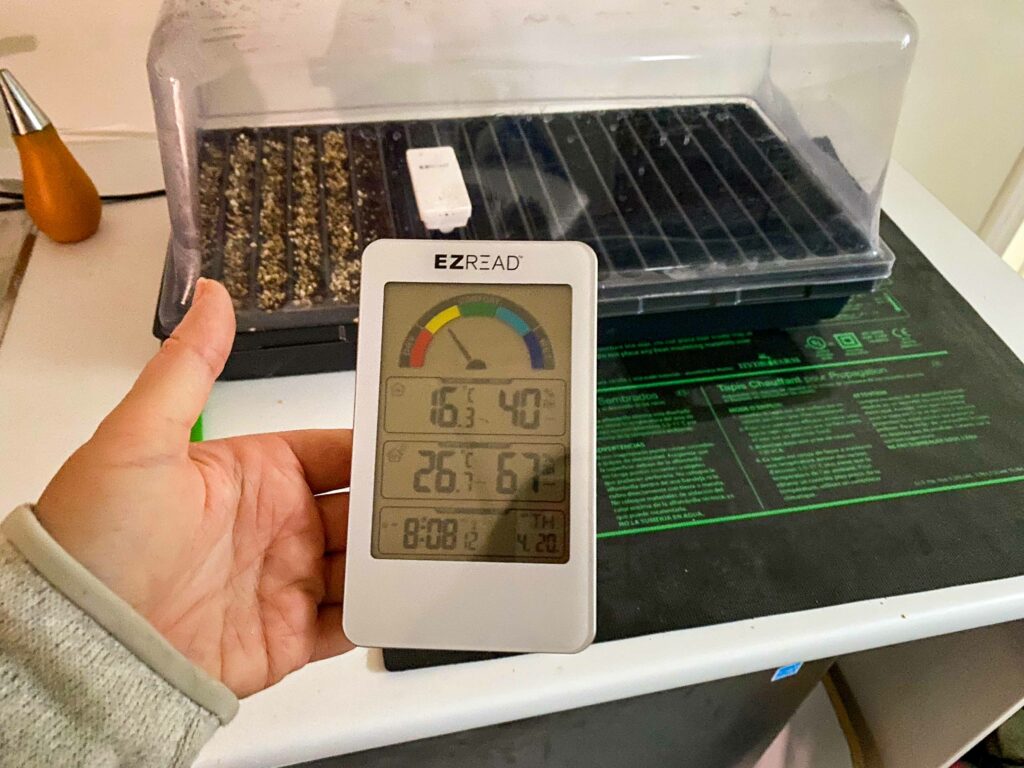
Use your thermometer to make sure the temperature isn’t going over 27°C and the relative humidity stays between 75% and 90%. Don’t let it dry out. Drought is death at this stage.
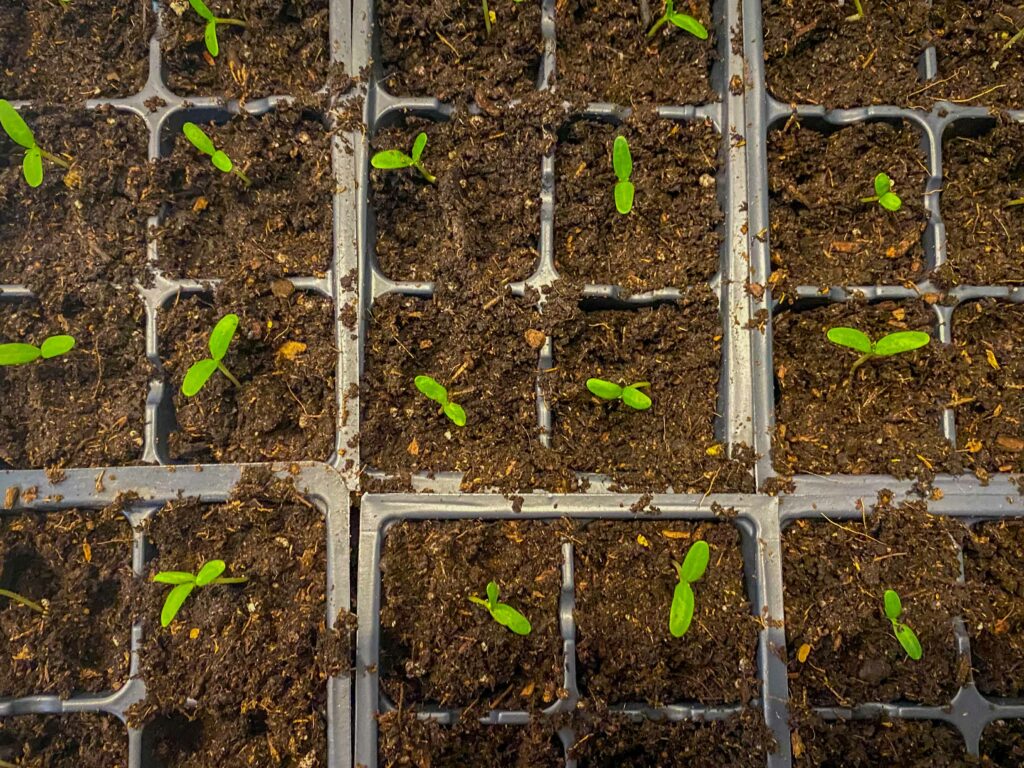
Once cotyledons begin to emerge, take the tray off the heat mat. Your goal temperature at this stage is about 22°C. This is the point at which you must give the seedlings light so they can begin to photosynthesize. Position the seedlings about four inches (a hand’s width) from the light.
Plug the grow light into a wall timer and set it to be on for sixteen hours and off for eight. Plants need the darkness to help balance their growth needs. They will be photosynthesizing while the light is on and respiring while the light is off. Both of these are important processes for the plant to be healthy.
After a week or so—the time varies depending on the kind of plant you are growing—your seedlings will start to produce true leaves, in addition to the first green cotyledons. Once you have true leaves, your seed babies are ready to “pot-up”!
HOME GROWING HACK: Grow lights really are a make or break here. Most of us in the prairies have double or triple pane glass and most newer windows are treated with a UV coating to prevent damage to fabrics and furniture in our homes. Good for the curtains, bad for the plants. And our human eye can’t tell the difference. So really, truly, invest in grow lights that provide the full spectrum from 400-700 (ultraviolet to infrared).
| Day | 0 | 1 | 2 | 3 | 4 | 5 | 6 | 7 |
|---|---|---|---|---|---|---|---|---|
| RH (%) |
39 |
69 |
72 |
77 |
79 |
79 |
78 |
80 |
| Temperature (°C) |
19.2 |
25.6 |
27.3 |
26.1 |
25.8 |
26.8 |
27.3 |
21 |
| Total germination out of 109 |
0 |
0 |
15 |
73 |
87 |
89 |
100 |
100 |
The graph above is what a week of temperatures and relative humidity were like for the marigold seedlings.
Step 5: Transplant
If you are transplanting (aka “potting up”), moisten the seed starting mix with distilled water as you did for seeding, damp enough that it holds together when you squeeze a ball of it in your fist. Fill your pots and pack the soil firmly, but not tight. Those new roots need room to grow.
Use the wide end of a dibble stick (I’ve sometimes used the cap of a Sharpie) to make planting holes in each planting cell or pot.
Use the thin end of the dibble stick or small butter knife to gently lift the seedling from the seedling tray.
Place your seedling into the hole you made and press firmly around it to ensure the roots have good contact with the damp soil.
Put the transplants back under your grow light with a 16-hour cycle of light and eight hours of darkness. You can put away the heat pad and the plastic dome at this point. Set up a small fan to ensure there is air moving across the seedlings. This is important to prevent fungal killers like Damping Off and to build cuticle strength for the plants eventual move to the outdoors.
TIP: Hold the seedling by the leaves to avoid damage to the stem. A plant can grow a new leaf to replace a damaged one but it can’t replace a damaged stem.
Step 6: Feed The Beasts
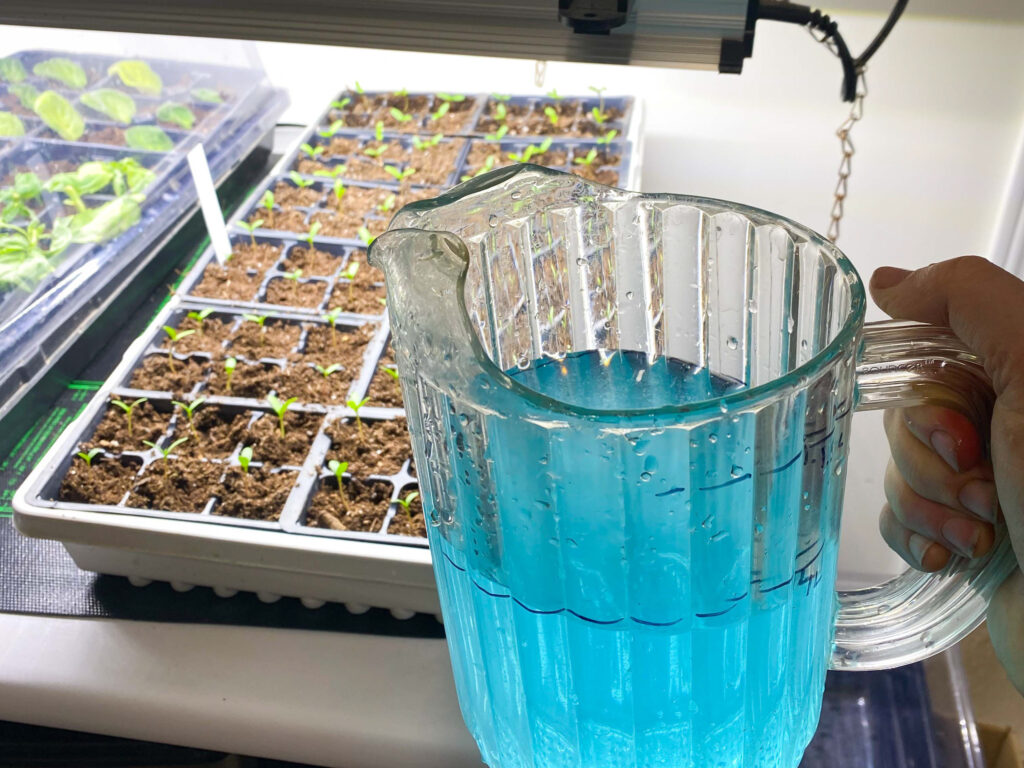
A day or two after transplant, you need to feed your seedlings. Mix up a container of 10-52-10 fertilizer at 4 ml per litre and water them with this every five to seven days.
Between feedings, make sure you are watering your plants when the soil is dry, but not parched. How much water you need depends on the temperature and relative humidity of your room and the size of the pot and the plant.
TIP: The fertilizer with a high middle number means it has a focus on phosphorus which is vital for strong root development. The first number represents nitrogen (important for foliage) and the third number represents potassium (important for producing disease resistance).
Step 7: Grow On, Then
Try to maintain an air temperature that varies by only about 5°C between day and night. A good range to shoot for is 17°C at night and 22°C during the day. A relative humidity of 45-55% is fine at this point.
As your seedlings grow, their root systems and leaves will expand and they will need more nutrients and more moisture.
If your seedlings are still indoors after two weeks from potting on, start to feed them with a diluted 20-20-20 fertilizer. I make the batch as indicated on the label and then dilute it to 50% strength.
Ideally, you don’t want to be maintaining your seedlings more than three to four weeks indoors, otherwise they can get leggy and rootbound and more vulnerable to disease once they move outdoors. Not only that, your house will become a jungle!
The last stage is fourteen days of hardening-off, and that’s an April or May task so let’s leave it for then.