You finally took the plunge!
If you’re like me, you dreamed of a greenhouse for years (decades?) and tried out a bunch of flimsy ones before finally investing in something that will last you for a few years.
Here are a few tips to help you get the most out of it.
EXPECTATIONS:
Don’t expect to grow year round in an Alberta hobby greenhouse. You’ll spend a fortune on electricity and fuel for heat and supplemental light (thousands of lumens for 8+ hours per day, heating to 25-30C). Hobby greenhouses on the Canadian prairies are best for extending your growing season and creating a horticultural zone that’s about 1 number higher than what you get outside (in Edmonton, that means your greenhouse will be zone 5). You’ll start growing earlier and end harvesting later than if you were just growing out in your garden.
ORIENTATION:
Put your greenhouse where you have easy access to water because you’re going to need to water every day. And don’t put it in a low spot that will leave you growing in a soupy pond.
The ridge or spine of your greenhouse should run east – west with the long side of the structure facing south. Given how far north we are (above the 49th parallel), the summer sun stays mostly to the south of us. So you want to catch as many of those suns rays as possible.
Only the suns rays that hit at a 90 degree angle to the siding will get through.
The greenhouses we make at My Own Greenhouse are covered with a clear, rigid polycarbonate covering (Lexan) which allows more than 90% of photosynthetically active radiation (PAR) from the sun – this is very good, greenhouse glass lets in just under 100%. If your greenhouse has a twin cell polycarbonate, you’ll also get good light but it is likely to be more diffuse. That’s not a bad thing, in fact, it means you’ll have fewer static shadows in your greenhouse. Plants in areas where you have shadows won’t grow as well as other plants.
Poly film is a reasonable option for a greenhouse cover as well but be prepared to replace it every 2 or 3 years as extremes in temperature and breakdown from ultraviolet waves will deteriorate it.
SHADE:
It’s totally okay to have trees or buildings on the north side of your greenhouse. In fact, you could even insulate the north side of your greenhouse and that will provide you with less heat loss overnight and won’t have any impact on your available sunlight.
If you are growing plants that need some shade at some point in the season, you can install a cloud blanket or you can use a whitewash paint on product like ReduSol to cut down on high summer heat.
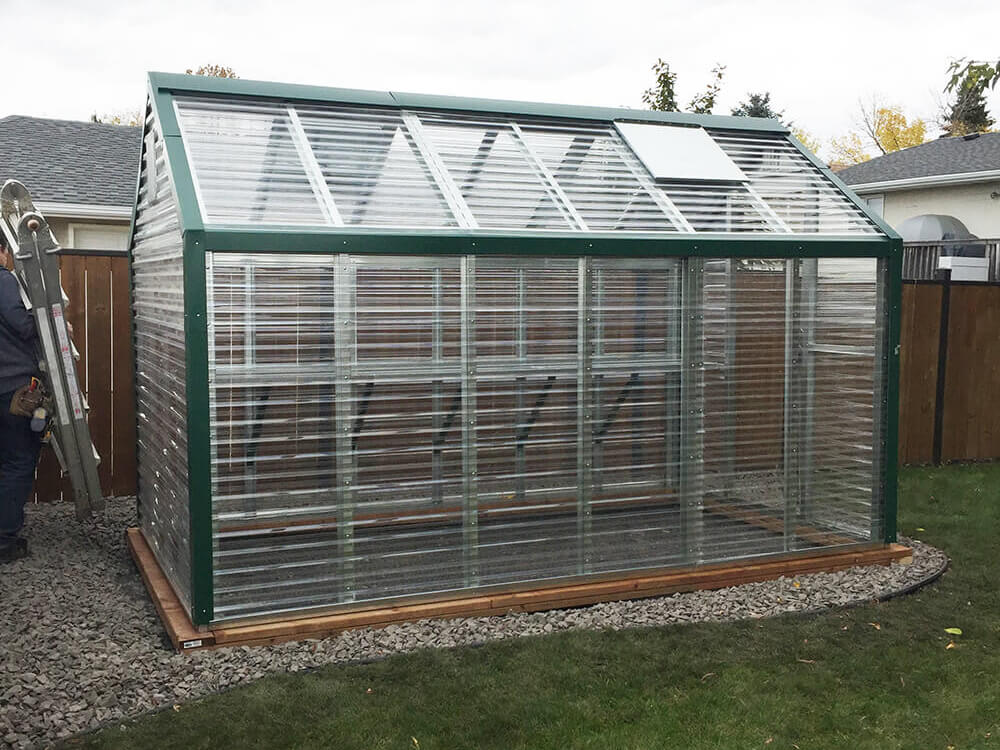
THE BASE:
You can put your greenhouse on concrete, gravel, or bare soil. You can also put it right on sod if you have a plan for the grass on the inside.
If you are growing in containers, putting your greenhouse on concrete or gravel is great. You benefit from the passive solar heat gain.
<img path pea stone>
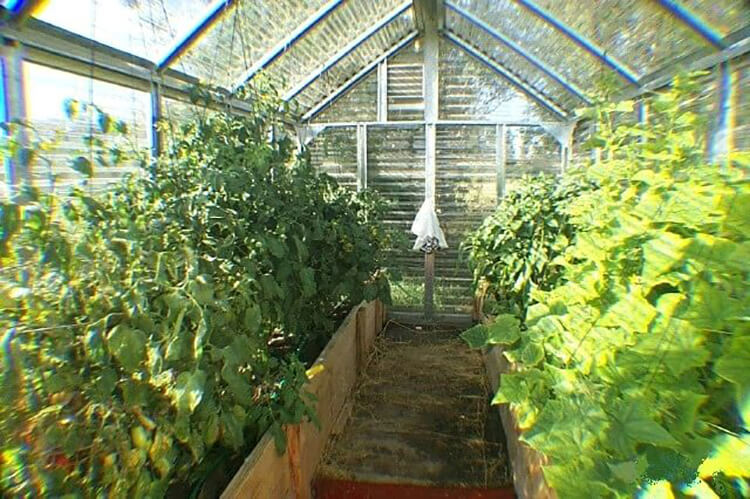
My greenhouse is on bare soil so I built raised beds inside with a path that runs straight down the center.
DO NOT use wood for your walking path. It will eventually get a damp, slimy build up on it and you can slip and hurt yourself. A better solution is sidewalk blocks or stepping stone with pea gravel around them.
Consider securing your greenhouse to the ground. You can drive metal spikes through the base and into the ground at different angles, you could use a strap that is screwed to the base and attached to a ground screw, you an pile soil up around the base on the exterior to prevent any wind from getting up inside the greenhouse.
The best part of the greenhouse for me is the experimenting. I can grow unusual plants, fragile plants. I can get out into the greenhouse in March with comfort and relief from cabin fever. Before winter, I put a chair in the greenhouse and I have even been known to sneak out there on a sunny mid-winter day for a sun-facial.